Ajenti是一个基于Web的开源系统管理控制面板,用于从Web浏览器远程管理Linux系统任务,基本上类似于Webmin系统管理工具。
Ajenti是一个功能强大且轻量级的工具,它为管理小型Linux服务器设置提供了一个快速响应的Web界面,并且最适合VPS和独立服务器使用。
Ajenti内置了许多用于配置和监控服务器软件和服务的预制插件,例如Apache、文件系统、防火墙、MySQL、Nginx、Munin、Samba、FTP、Squid。此外,还包括许多其它工具,如文件管理器、开发人员和终端访问的编辑器。

在本文中,小编将简单介绍在Linux服务器上安装Ajenti控制面板的详细过程,以及通过Web浏览器管理各种Linux服务器任务。
安装系统要求
- Debian 9或更高版本
- Ubuntu Bionic或更高版本
- RHEL 8或更高版本
在Linux系统中安装Ajenti控制面板
要安装Ajenti,首先需要将系统软件更新并升级到最新版本,输入以下命令:
$ sudo apt update && sudo apt upgrade -y    [Ubuntu和Debian系统]
$ sudo dnf update && sudo dnf upgrade -y    [RHEL系统]
系统更新完成后,在开始安装Ajenti之前重新启动系统。
$ sudo systemctl reboot
重新启动系统之后,使用以下curl 命令下载Ajenti安装脚本,这样将会安装Ajenti以及所有需要的依赖项,命令如下:
在Debian/Ubuntu上安装Ajenti
$ curl https://raw.githubusercontent.com/ajenti/ajenti/master/scripts/install.sh | sudo bash -s -
在RHEL/Rocky和AlmaLinux上安装Ajenti
在基于RHEL的发行版上需要启用EPEL存储库以便安装Ajenti所需的依赖项,命令如下:
$ sudo dnf install https://dl.fedoraproject.org/pub/epel/epel-release-latest-8.noarch.rpm
$ dnf install -y gcc python3-devel python3-pip python3-pillow python3-augeas python3-dbus chrony openssl-devel redhat-lsb-core
安装所有必需的依赖项后,现在使用安装脚本安装Ajenti,命令如下:
$ curl https://raw.githubusercontent.com/ajenti/ajenti/master/scripts/install.sh | sudo bash -s -
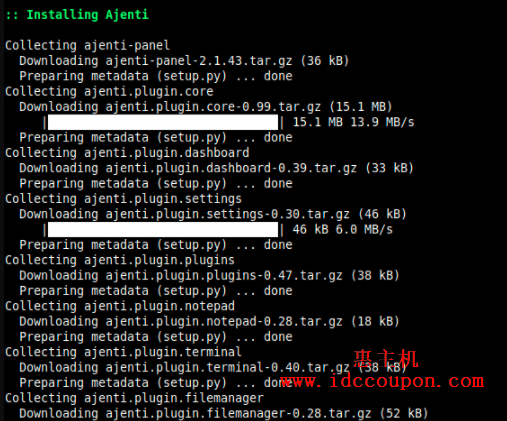
等等几分钟即可安装完成:

Ajenti安装完成后,打开防火墙/路由器上的“ 8000 ”端口,即可远程访问Web界面。
$ sudo ufw allow 8000   [Ubuntu和Debian系统]
$ sudo firewall-cmd --permanent --zone=public --add-port=8000/tcp  [RHEL系统]
$ sudo firewall-cmd --reload
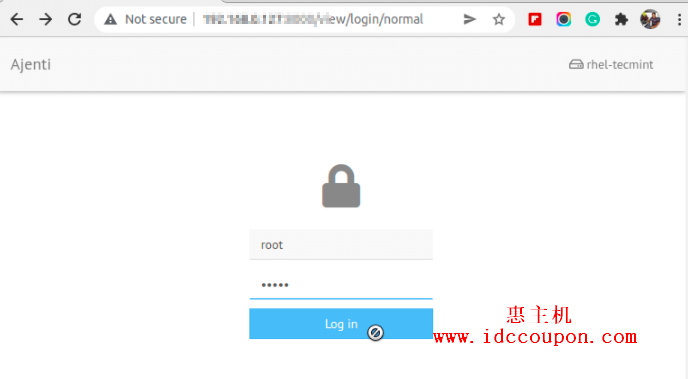
要访问Ajenti控制面板Web界面,可以打开Web浏览器并输入安装Ajenti服务器的IP地址 ,然后输入系统“ root ”用户名和 root 密码。
https://localhost:8000
或者
https://ip-address:8000
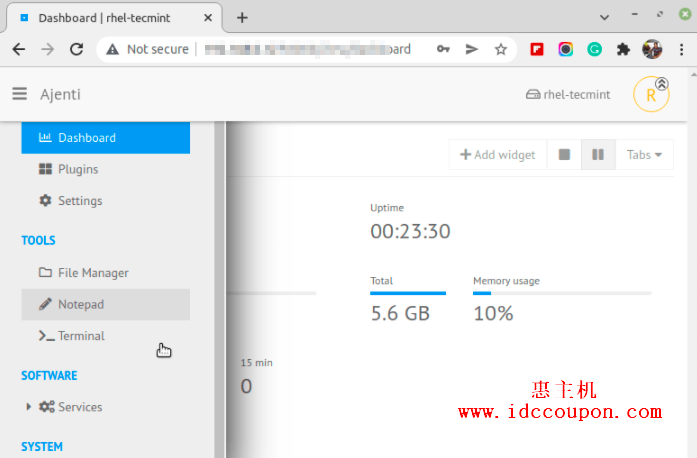
从Ajenti访问终端:
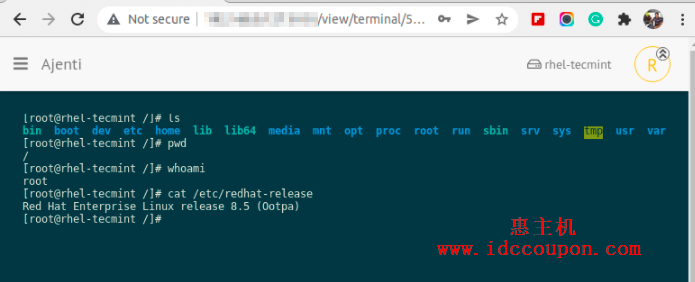
可以使用以下命令启动、停止、重新启动Ajenti服务。
$ sudo systemctl stop ajenti
$ sudo systemctl start ajenti
$ sudo systemctl restart ajenti
$ sudo systemctl status ajenti
在Linux系统中卸载Ajenti控制面板
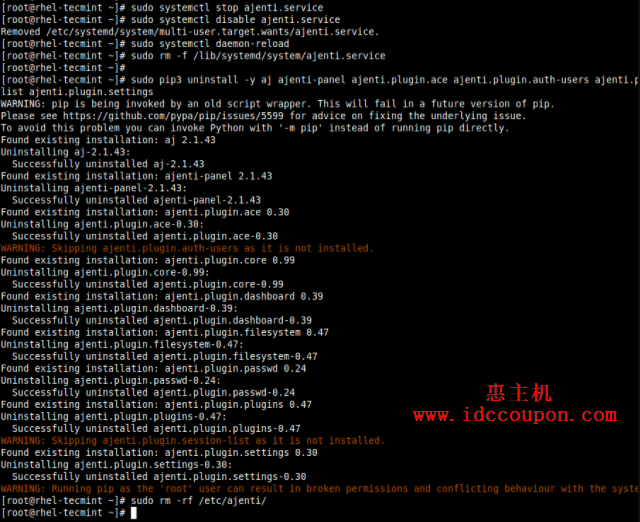
Ajenti是一组使用pip安装的Python模块,使用systemd 脚本发布。因此,必须删除systemd脚本、Python库和配置文件。
$ sudo systemctl stop ajenti.service
$ sudo systemctl disable ajenti.service
$ sudo systemctl daemon-reload
$ sudo rm -f /lib/systemd/system/ajenti.service
然后简单地删除所有Python模块:
$ sudo pip3 uninstall -y aj ajenti-panel ajenti.plugin.ace ajenti.plugin.auth-users ajenti.plugin.core ajenti.plugin.dashboard ajenti.plugin.filesystem ajenti.plugin.passwd ajenti.plugin.plugins ajenti.plugin.session-list ajenti.plugin.settings
如果不需要配置文件,只需删除目录/etc/ajenti/即可:
$ sudo rm -rf /etc/ajenti/
总结
以上就是Linux服务器安装Ajenti面板的全部过程, 有不清楚的小伙伴可以参考上述教程进行安装。
总之,Ajenti是一款轻量型Web控制面板,使用起来相对方面,如果是不太大的VPS或独立服务器,那么都建议安装Ajenti面板管理服务器。
 惠主机
惠主机


